birthprint
Personalised baby birth letters, ready to 3D print
A big first letter with the baby's name in script, and the date, time, length and weight on little badges, plus decorations like animals, clouds and hearts. Every piece is its own coloured insert that presses into a pocket in the letter.
For new parents, grandparents and makers who sell nursery keepsakes.
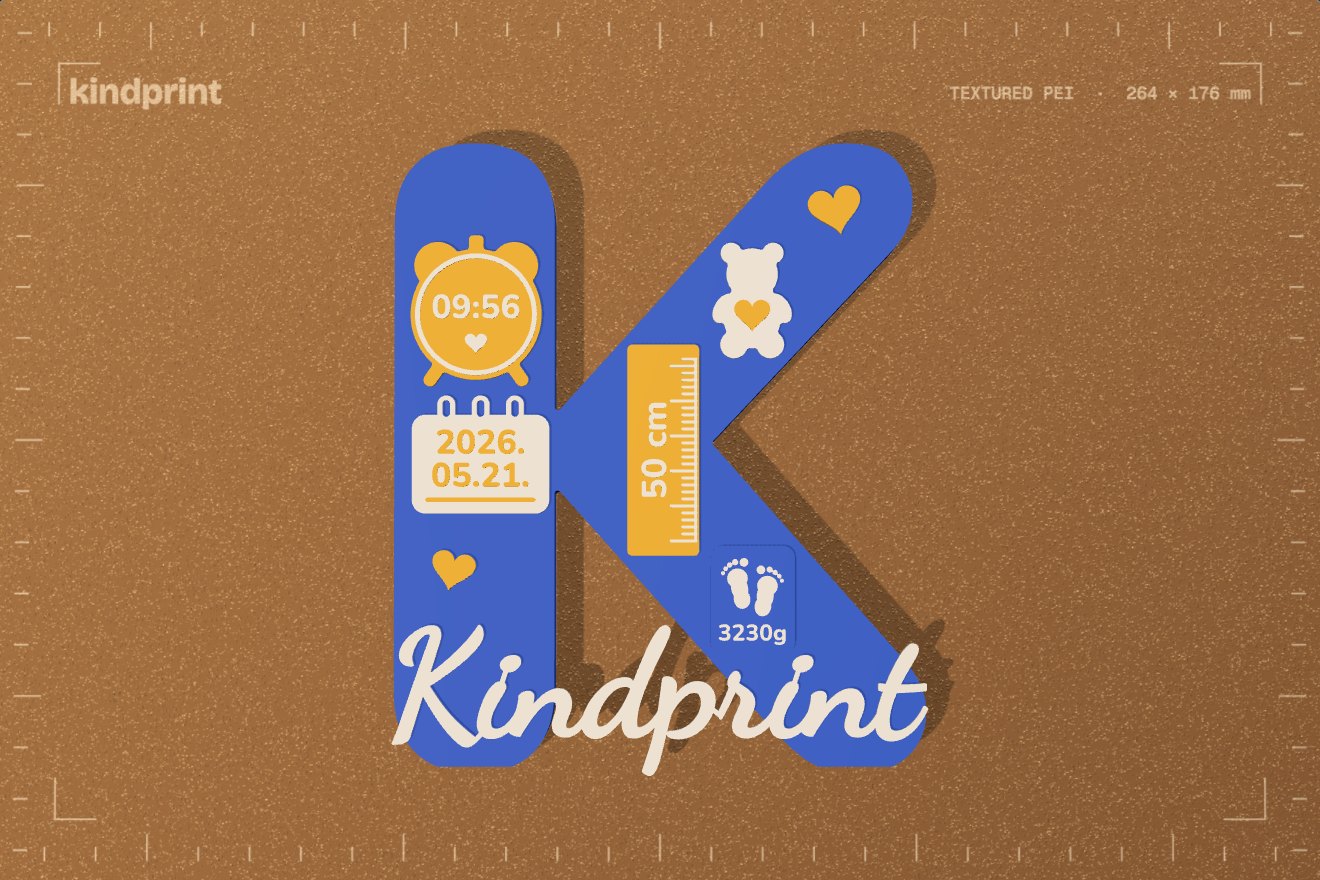
At a glance
- Letter height
- 200 mm default
- Fit gap
- 0.2 mm
- Badges
- Date, time, length, weight, place
- Files
- 3MF + STL
- Plan
- With the Suite (€12.99 a month), or one credit (€3.99) per design: change and re-export it for 7 days.
What you can make
The name and the details
The full name in a script font over the letter, and badges for the date, time, length, weight and, if you like, the place of birth.
Decorations to choose from
Animals, clouds, stars, hearts, footprints and more, in sky, forest, sea, safari and nursery sets, or upload your own SVG.
Inserts that press in
Each piece sits in its own pocket with a 0.2 mm gap all round and a 0.4 mm bevel underneath, so it presses in by hand; a small drop of glue holds it for good.
Arrange it your way
Drag, scale and rotate every piece on the letter; the app checks that everything fits your bed and nothing is too thin to print.
Colours made simple
One file per colour with every insert of that colour laid flat, and the colour change for raised badge text already set.
A README with every height
Which part prints in which colour, the height of every colour change, and an estimate of filament and time.
How it works
Design it in kindprint
Type the name and the birth details, pick the fonts, colours and decorations, and move the pieces where you want them.
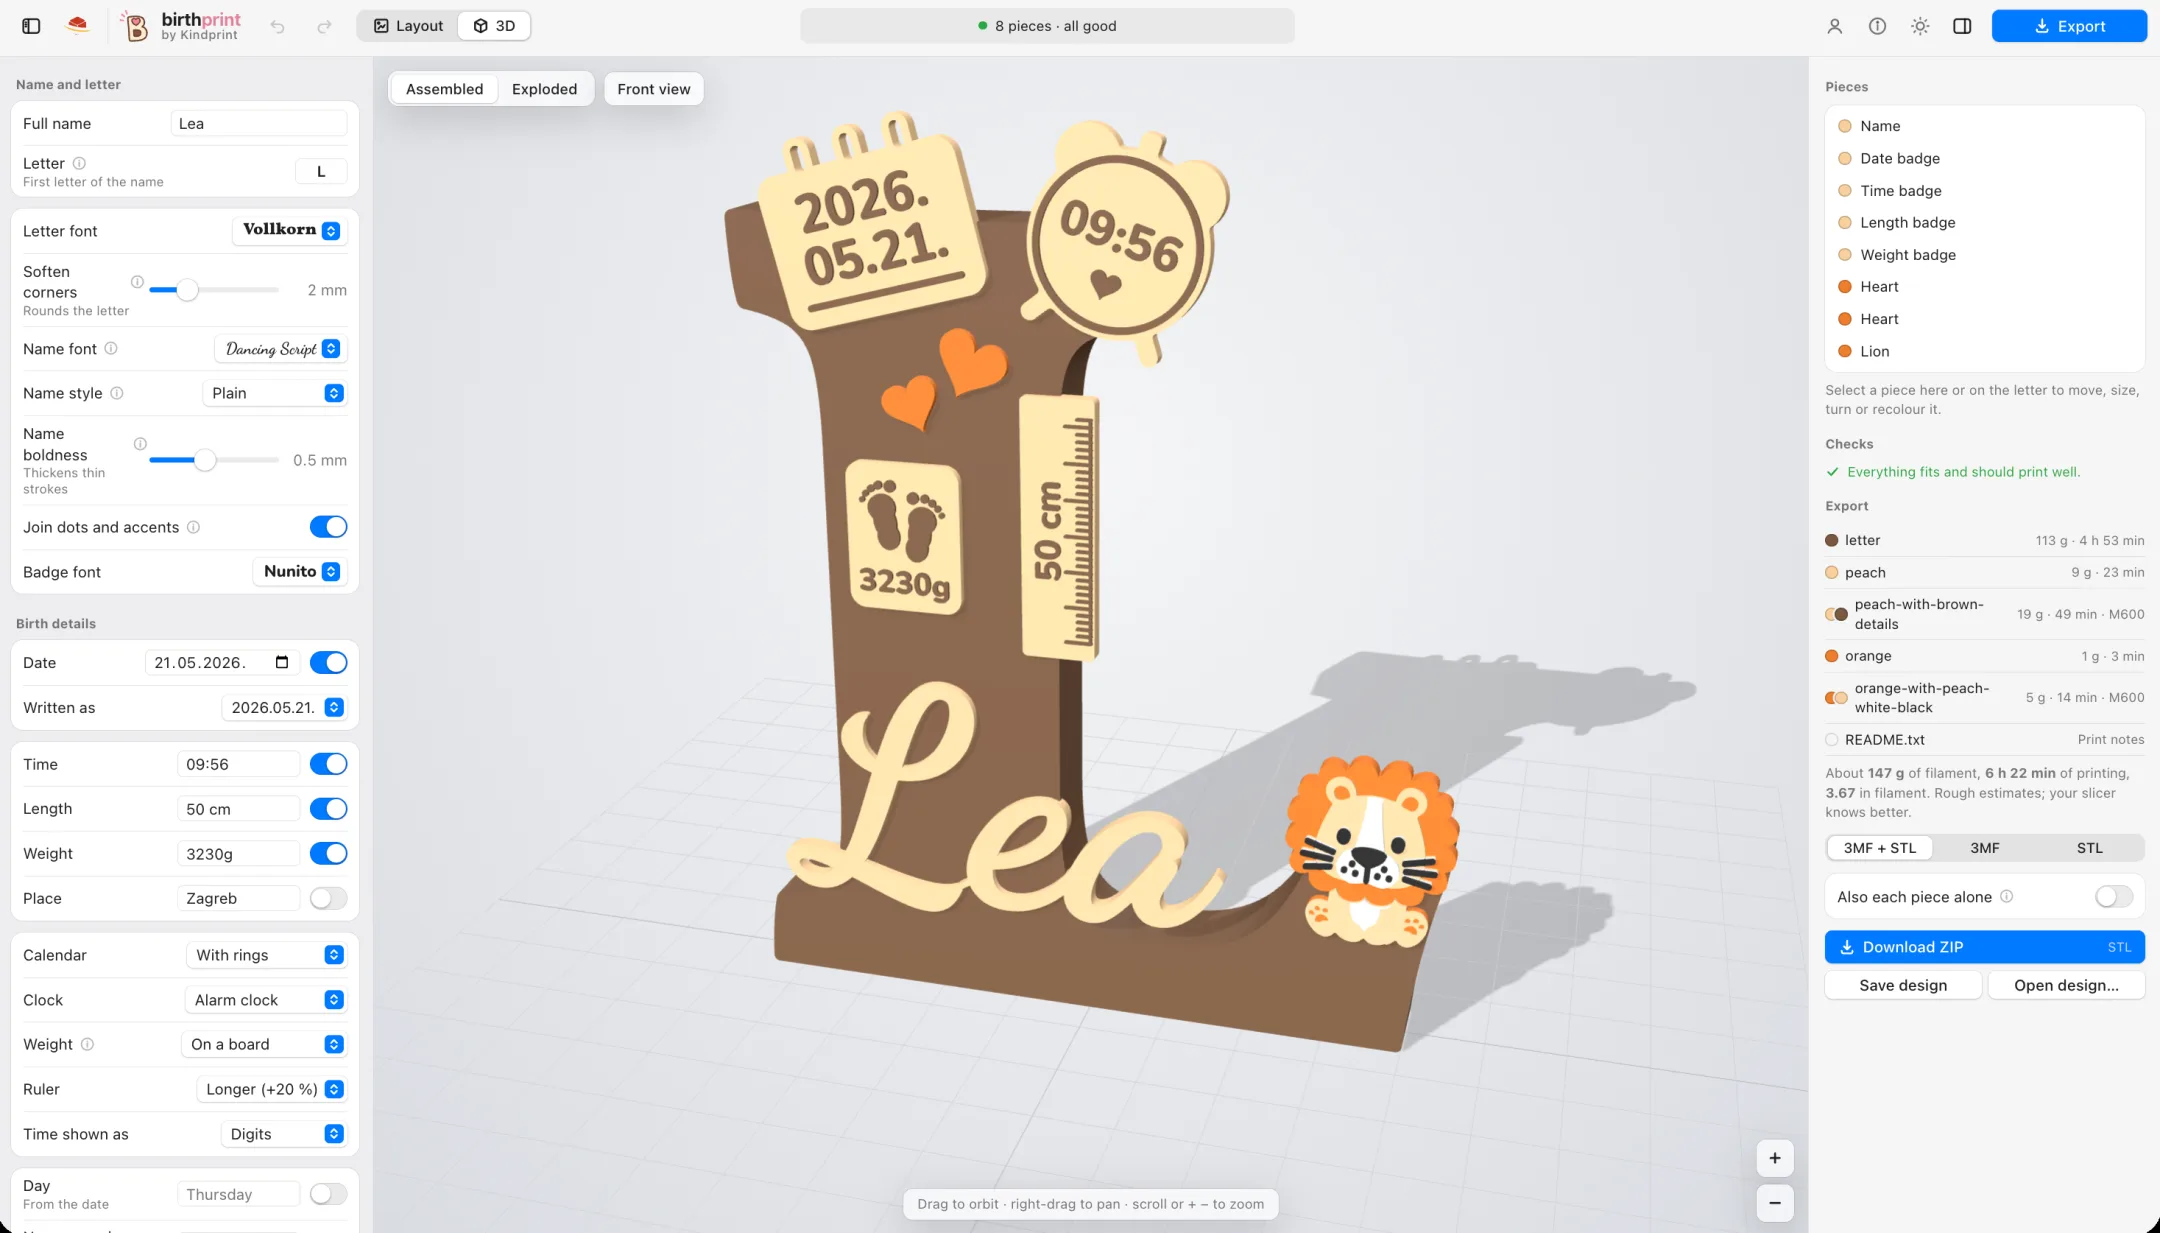
birthprint, with the checks and the parts list on the right. Open it in your slicer
Download the ZIP and open the 3MF in PrusaSlicer: the parts arrive on your bed, one file per colour, the colour changes on the layer slider.
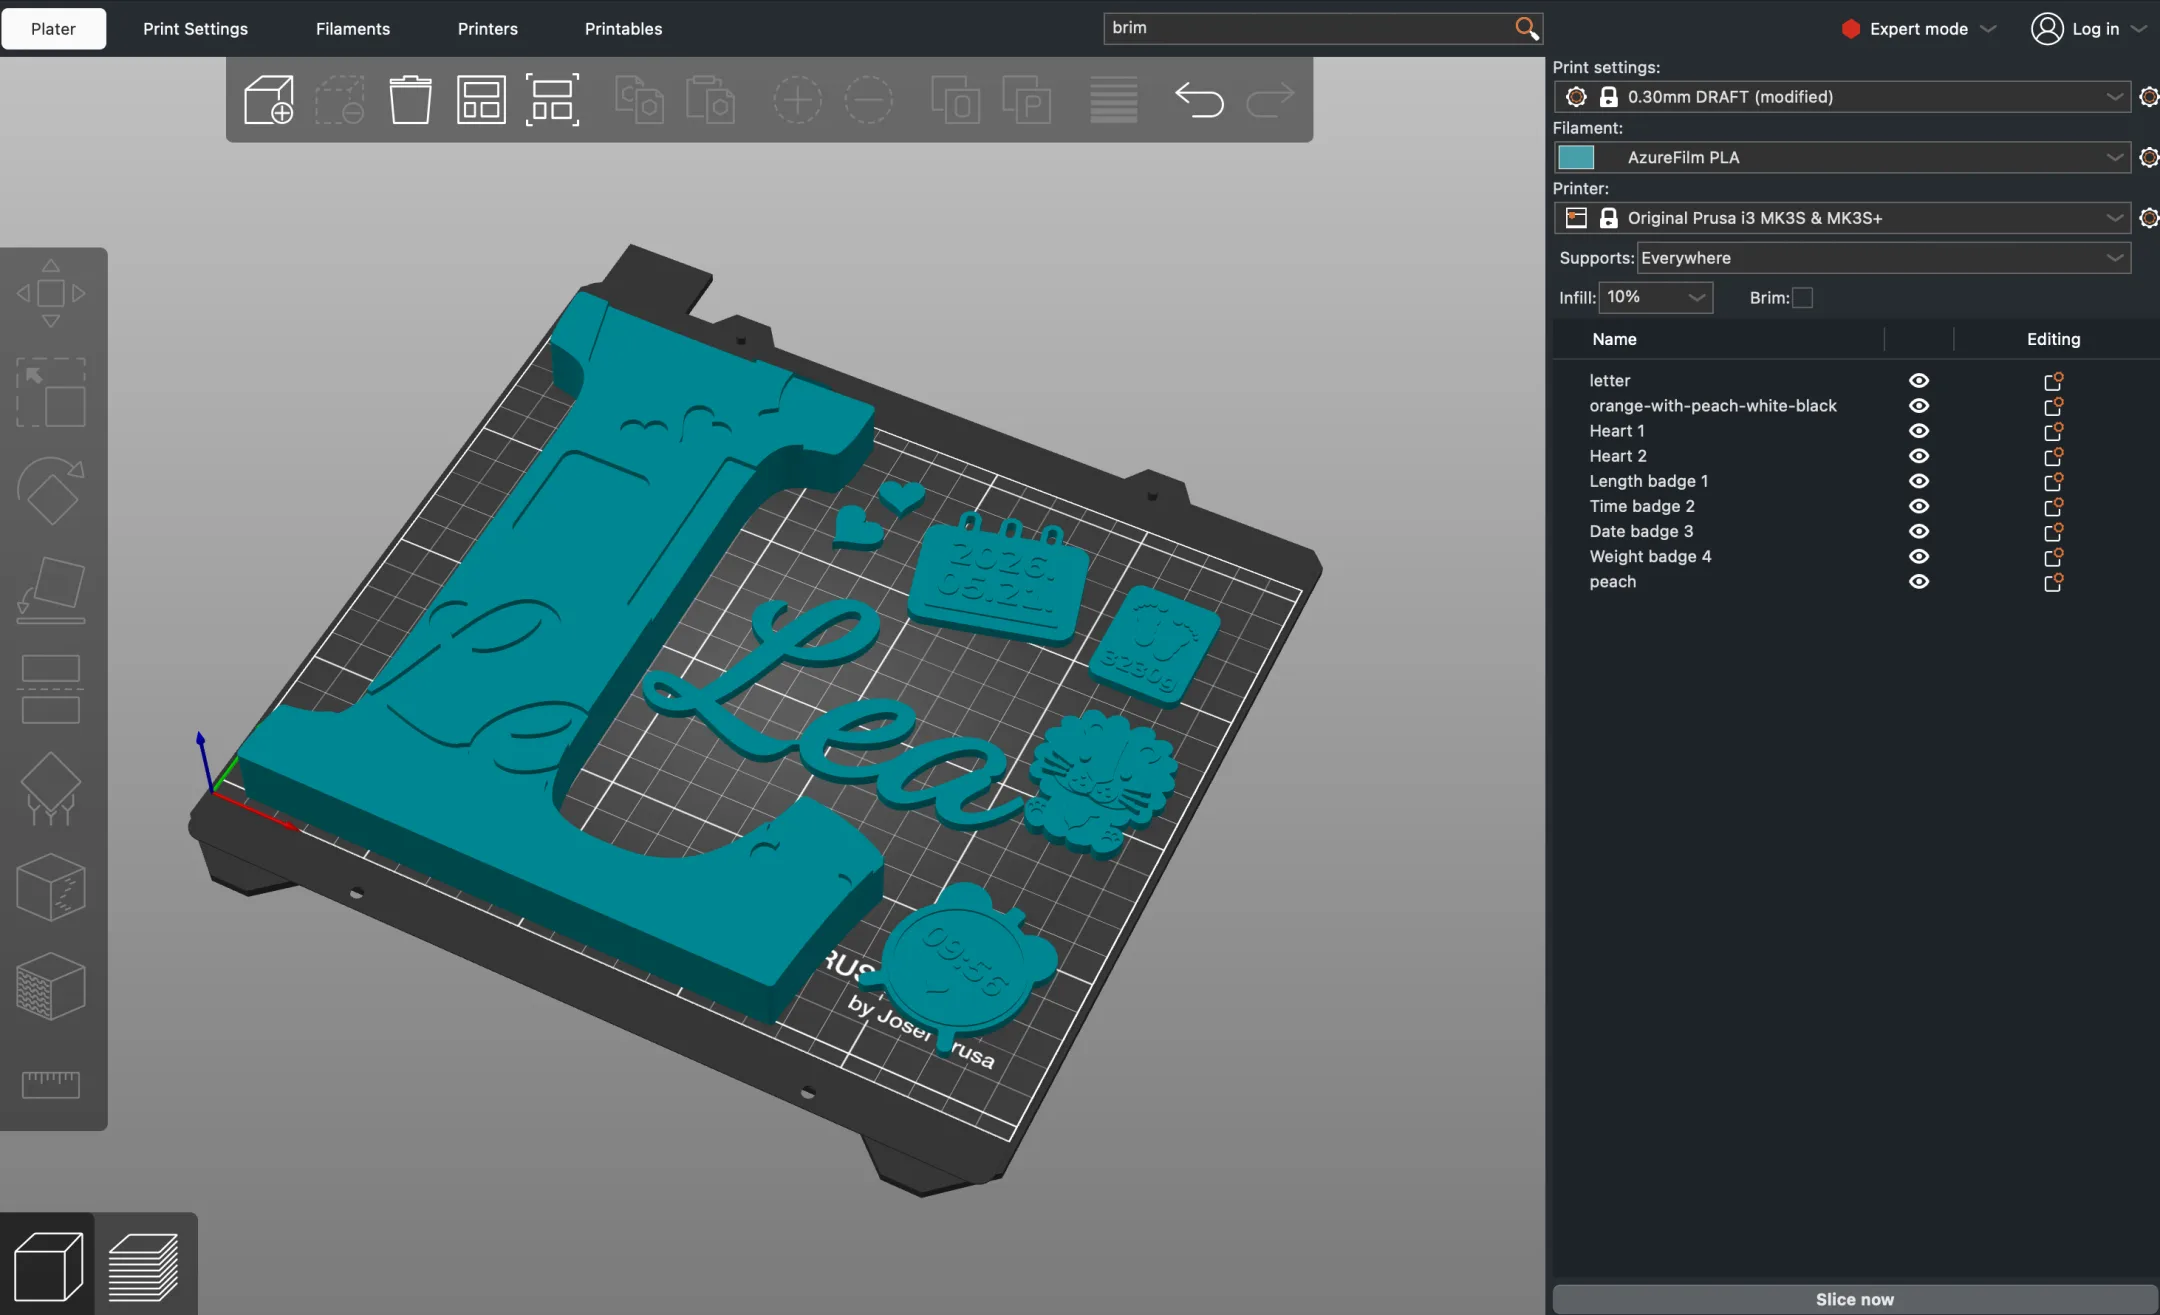
The README lists every height, in case you use another slicer. Print, press, done
Print the letter and the inserts, then press them in by hand with a small drop of glue. The gap and the bevel are already in the files.
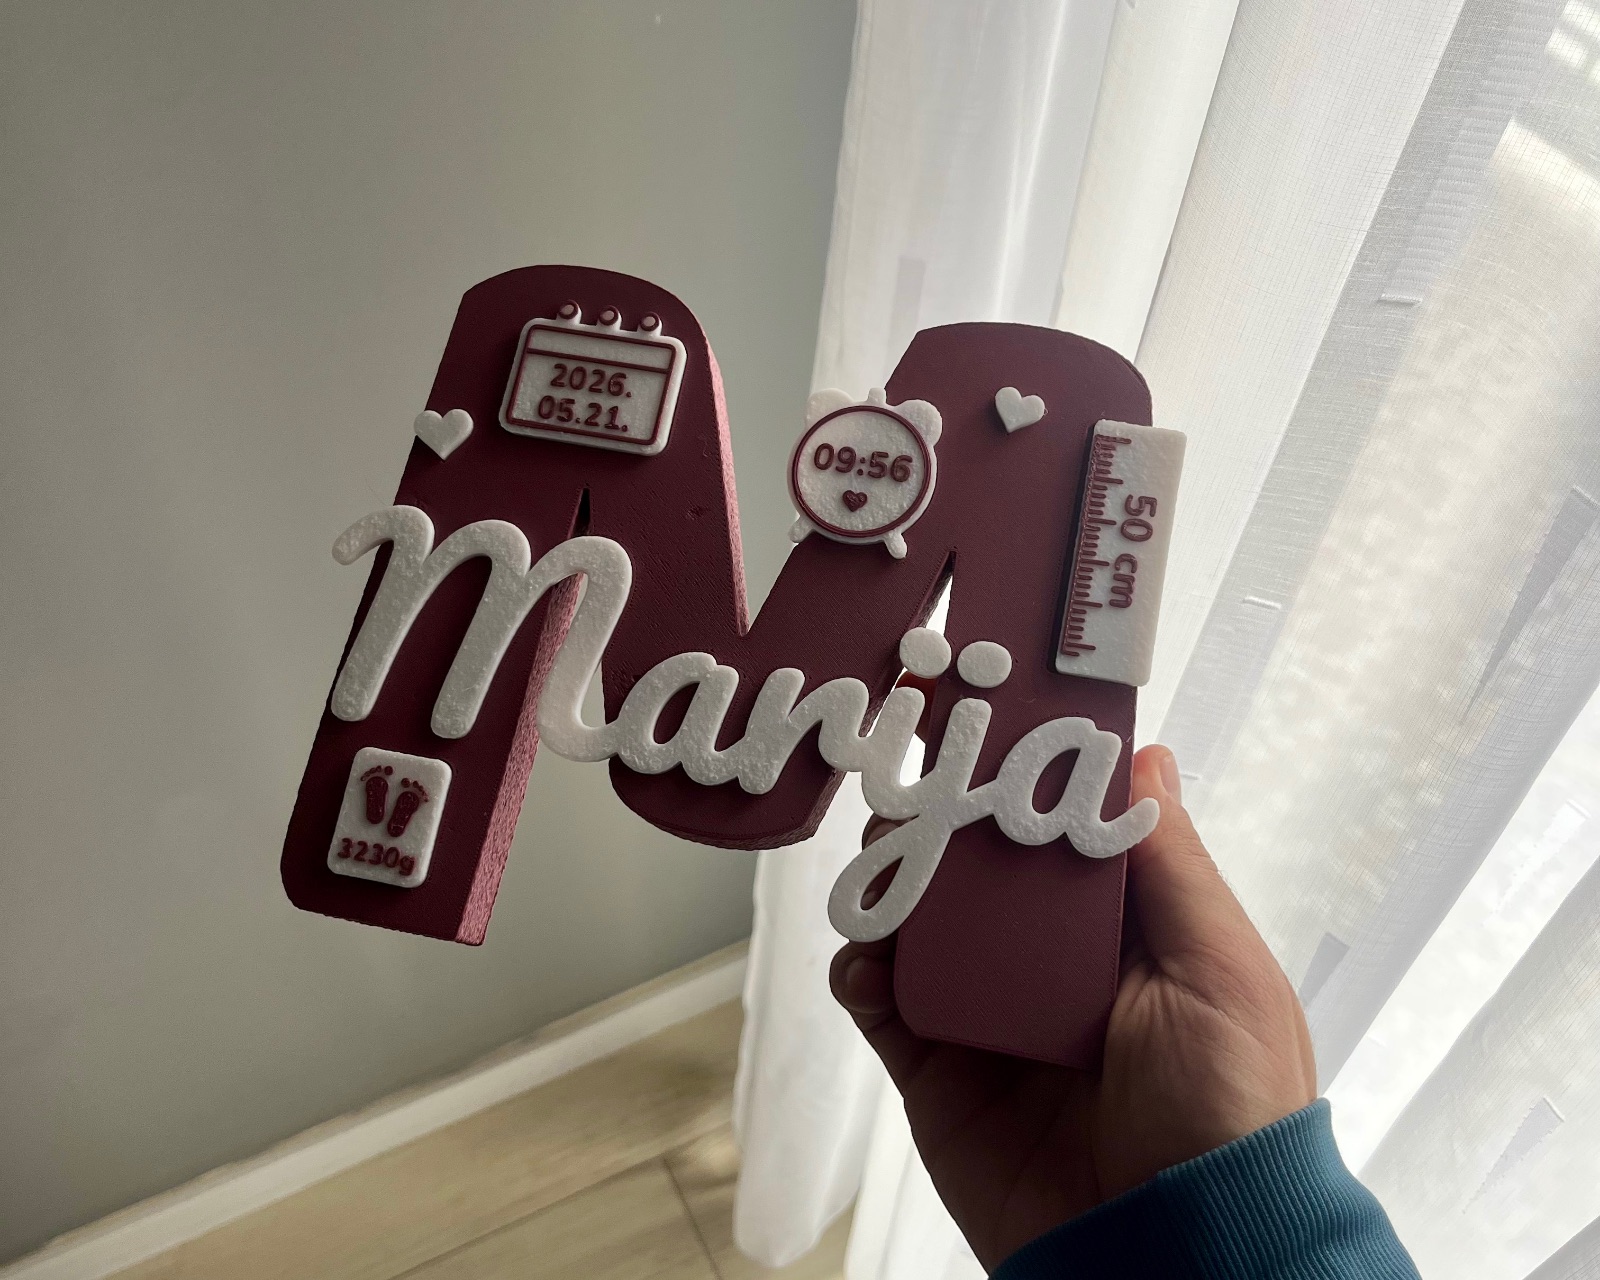
A finished letter for Marija, printed in two colours.
The gap is in the file.
The preview shows the inserts sitting flush. When you export, the fit tolerances are already in the 3MF and STL files, so what comes off the plate presses together by hand.
- 0.2 mm
- Gap all round every insert. If your printer runs tight or loose, change it.
- 0.4 mm
- Bevel on the insert's bottom edge, so a squashed first layer doesn't stop it going in.
- M600
- Colour change written into the 3MF at the height where the badge text starts.
- README
- Which part prints in which colour, the heights for every change, and an estimate of filament and time.
Questions
4 layers · 0.20 mmOnly a little. The pockets are cut with a 0.2 mm gap and each insert has a 0.4 mm bevel on its bottom edge, so the pieces press in by hand without sanding; a small drop of glue in each pocket holds them for good. You can change the gap and bevel if your printer runs tight or loose.
200 mm tall and 20 mm deep by default; both are adjustable, and the parts are laid out to fit your bed.
Prusa MK3S, MK4 and XL, and Bambu A1, A1 mini, P1S and X1 are presets. For any other printer, type in the bed size.
One credit unlocks one birth letter. For 7 days you can change it and export it again as often as you like, so a typo or a fit is fixed for free. Credits last 12 months.